
4663 字
23 分钟
Python 测试完全指南:unittest / pytest / mock / 覆盖率 / TDD 从入门到实战
测试是专业软件开发的核心环节。没有测试的代码如同没有安全带的驾驶——短途可能没事,但长途必定出事。本文从测试基础理念到实战项目,全面讲解 Python 测试体系,帮你建立可靠的代码质量保障。
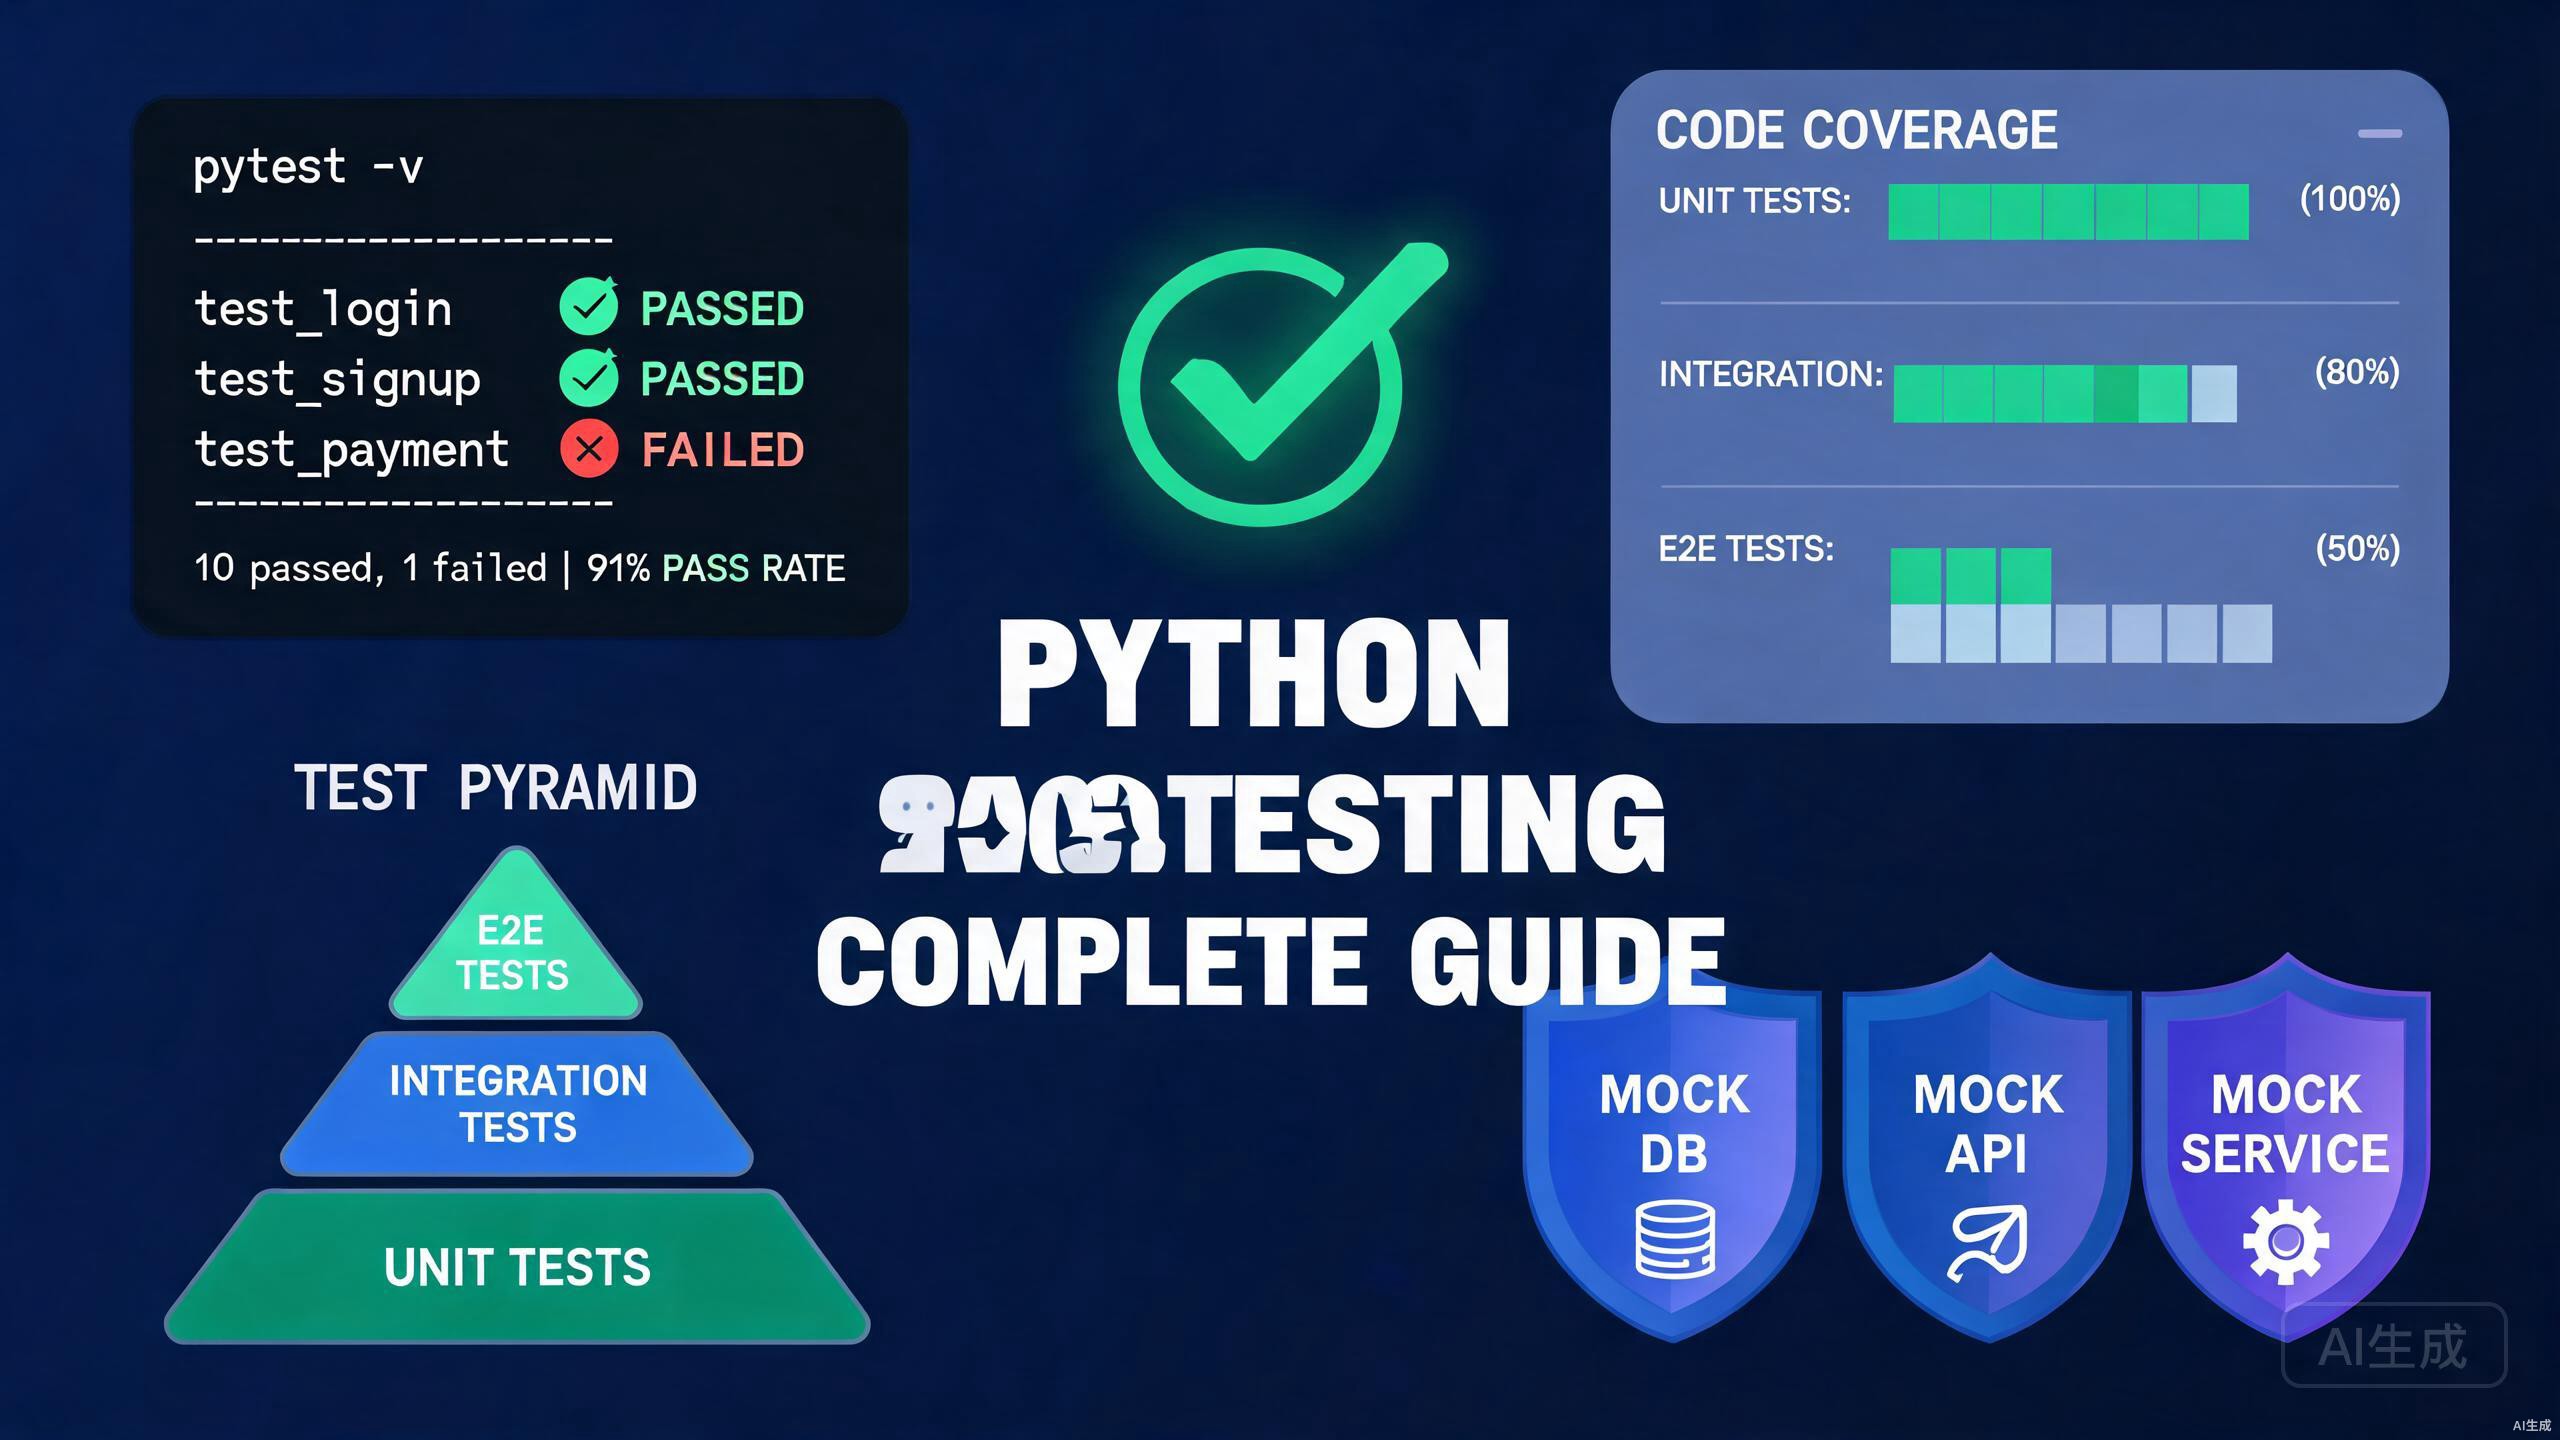
本文内容:
- 测试基础:单元测试 / 集成测试 / 端到端测试
- unittest 标准库:测试用例编写与断言
- pytest 现代框架:fixture / 参数化 / 标记 / 插件
- mock 模拟对象:隔离依赖的正确方式
- coverage 覆盖率:量化测试质量
- TDD 实战:测试驱动开发流程
- 实战项目:Flask API 完整测试套件
一、测试基础理念
1.1 测试金字塔
/\ / \ / E2E \ ← 少量,慢,高成本 /________\ / \ / Integration \ ← 适量,中速 /________________\ / \ / Unit Tests \ ← 大量,快,低成本 /______________________\测试类型 数量 速度 成本 范围────────────────────────────────────────────单元测试 70% 毫秒级 低 单个函数/类集成测试 20% 秒级 中 模块间交互端到端测试 10% 分钟级 高 完整用户流程1.2 为什么要写测试
# 没有测试的开发:# 1. 改一个 Bug,引入两个新 Bug# 2. 重构时提心吊胆# 3. 回归问题反复出现# 4. 代码交接困难# 5. 部署前手动测试耗时且不可靠
# 有测试的开发:# 1. 修改代码后立即知道是否破坏了功能# 2. 重构时测试通过 = 安全# 3. 测试即文档,展示代码如何使用# 4. 强制良好的接口设计(可测试 = 可维护)# 5. CI/CD 自动化,部署信心倍增1.3 好测试的特征(FIRST 原则)
F - Fast 快速:毫秒级执行,开发者愿意频繁运行I - Independent 独立:测试之间互不依赖,任意顺序执行结果相同R - Repeatable 可重复:在任何环境运行结果一致(不依赖网络/时间)S - Self-validating 自验证:自动判断通过/失败,无需人工检查T - Timely 及时:在代码编写前后及时编写,不要堆积到最后二、unittest 标准库
2.1 基础测试用例
import unittestfrom calculator import Calculator
class TestCalculator(unittest.TestCase): """计算器测试"""
def setUp(self): """每个测试前执行(初始化)""" self.calc = Calculator()
def tearDown(self): """每个测试后执行(清理)""" pass
def test_add(self): """测试加法""" result = self.calc.add(2, 3) self.assertEqual(result, 5)
def test_add_negative(self): """测试负数加法""" self.assertEqual(self.calc.add(-1, -1), -2)
def test_add_float(self): """测试浮点数加法""" self.assertAlmostEqual(self.calc.add(0.1, 0.2), 0.3, places=7)
def test_divide_by_zero(self): """测试除零异常""" with self.assertRaises(ZeroDivisionError): self.calc.divide(10, 0)
def test_is_positive(self): """测试布尔判断""" self.assertTrue(self.calc.is_positive(5)) self.assertFalse(self.calc.is_positive(-5))
# 运行:python -m unittest test_calculator.py# 或在文件末尾添加:if __name__ == '__main__': unittest.main()2.2 常用断言方法
class TestAssertions(unittest.TestCase):
def test_equality(self): # 相等 self.assertEqual(1 + 1, 2) self.assertNotEqual(1, 2)
def test_membership(self): # 包含 self.assertIn(3, [1, 2, 3]) self.assertNotIn(4, [1, 2, 3])
def test_identity(self): # 同一对象 obj = [1, 2] self.assertIs(obj, obj) self.assertIsNot(obj, [1, 2])
def test_none(self): # None 判断 self.assertIsNone(None) self.assertIsNotNone(0)
def test_types(self): # 类型判断 self.assertIsInstance(42, int) self.assertNotIsInstance("hello", int)
def test_comparisons(self): # 大小比较 self.assertGreater(5, 3) self.assertGreaterEqual(5, 5) self.assertLess(3, 5)
def test_strings(self): # 字符串 self.assertIn("world", "hello world") self.assertTrue("hello".startswith("he"))
def test_collections(self): # 集合 self.assertCountEqual([1, 2, 3], [3, 2, 1]) # 忽略顺序 self.assertListEqual([1, 2], [1, 2]) self.assertDictEqual({'a': 1}, {'a': 1})
def test_exceptions(self): # 异常 with self.assertRaises(ValueError) as ctx: int("not a number") self.assertIn("invalid literal", str(ctx.exception))2.3 测试夹具(setUpClass / tearDownClass)
import unittestimport tempfileimport os
class TestFileProcessor(unittest.TestCase):
@classmethod def setUpClass(cls): """所有测试前执行一次(类级别初始化)""" cls.temp_dir = tempfile.mkdtemp() cls.test_file = os.path.join(cls.temp_dir, "test_data.json") # 写入测试数据 with open(cls.test_file, 'w') as f: f.write('{"name": "test", "value": 42}')
@classmethod def tearDownClass(cls): """所有测试后执行一次(类级别清理)""" import shutil shutil.rmtree(cls.temp_dir)
def setUp(self): """每个测试前执行""" self.processor = FileProcessor(self.test_file)
def test_read_file(self): data = self.processor.read() self.assertEqual(data['name'], 'test')
def test_write_file(self): self.processor.update('name', 'updated') data = self.processor.read() self.assertEqual(data['name'], 'updated')
# 跳过测试class TestDatabase(unittest.TestCase):
@unittest.skip("功能尚未实现") def test_future_feature(self): pass
@unittest.skipUnless(os.environ.get('DB_HOST'), "需要数据库环境") def test_database_connection(self): pass
@unittest.expectedFailure def test_known_bug(self): # 已知会失败,失败时测试通过 self.assertEqual(1, 2)三、pytest 现代测试框架
3.1 安装与基础
# 安装 pytestpip install pytest
# 安装常用插件pip install pytest-cov # 覆盖率pip install pytest-mock # mock 支持pip install pytest-xdist # 并行执行pip install pytest-asyncio # 异步测试
# 运行测试pytest # 运行所有测试pytest test_file.py # 运行指定文件pytest test_file.py::test_func # 运行指定测试pytest -v # 详细输出pytest -s # 显示 print 输出pytest --lf # 只运行上次失败的pytest -x # 遇到失败立即停止pytest -k "add" # 运行名称含 "add" 的测试pytest --tb=short # 简短回溯pytest -n auto # 并行执行(需 pytest-xdist)3.2 基础测试(对比 unittest)
# pytest 风格:无需类继承,用 assert 语句# 文件名必须以 test_ 开头或 _test 结尾
def test_add(): """测试加法""" calc = Calculator() assert calc.add(2, 3) == 5
def test_add_negative(): """测试负数""" calc = Calculator() assert calc.add(-1, -1) == -2
def test_divide_by_zero(): """测试除零""" calc = Calculator() # pytest 内置异常检查 import pytest with pytest.raises(ZeroDivisionError): calc.divide(10, 0)
# 对比 unittest 版本:# unittest: self.assertEqual(calc.add(2, 3), 5)# pytest: assert calc.add(2, 3) == 5## unittest: self.assertRaises(ZeroDivisionError, calc.divide, 10, 0)# pytest: with pytest.raises(ZeroDivisionError): calc.divide(10, 0)## pytest 更简洁直观!3.3 fixture:灵活的测试夹具
import pytest
# 基础 fixture@pytest.fixturedef calculator(): """每个测试自动创建新的计算器实例""" return Calculator()
# 使用 fixturedef test_add(calculator): assert calculator.add(2, 3) == 5
def test_subtract(calculator): assert calculator.subtract(5, 3) == 2
# 带清理的 fixture(yield 模式)@pytest.fixturedef db_connection(): """测试前连接,测试后关闭""" conn = Database.connect("sqlite:///:memory:") conn.create_tables() yield conn # yield 之前是 setup,之后是 teardown conn.close()
def test_query(db_connection): db_connection.insert("users", {"name": "Alice"}) result = db_connection.query("SELECT * FROM users") assert len(result) == 1
# fixture 作用域@pytest.fixture(scope="session")def app_config(): """整个测试会话只创建一次""" return load_config()
@pytest.fixture(scope="module")def api_client(): """每个测试模块创建一次""" client = APIClient() yield client client.close()
@pytest.fixture(scope="function") # 默认值def fresh_data(): """每个测试函数创建一次""" return [1, 2, 3]
# fixture 依赖注入@pytest.fixturedef db(db_connection): """fixture 可以依赖其他 fixture""" return UserRepository(db_connection)
@pytest.fixturedef user(db): """创建测试用户""" return db.create(name="test_user", email="test@test.com")
def test_user_creation(user, db): assert user.name == "test_user" assert db.find_by_email("test@test.com") is not None
# fixture 参数化@pytest.fixture(params=["sqlite", "postgres", "mysql"])def db_engine(request): """为每种数据库引擎运行测试""" engine = create_engine(request.param) yield engine engine.dispose()
def test_query_all_databases(db_engine): """此测试会运行 3 次(sqlite/postgres/mysql)""" result = db_engine.execute("SELECT 1") assert result is not None
# conftest.py:共享 fixture# 在 tests/ 目录下创建 conftest.py,所有测试自动可用# tests/conftest.py# @pytest.fixture# def shared_data():# return {"key": "value"}3.4 参数化测试
import pytest
# 基础参数化@pytest.mark.parametrize("a, b, expected", [ (1, 2, 3), # 正数 (-1, -1, -2), # 负数 (0, 0, 0), # 零 (0.1, 0.2, 0.3), # 浮点数 (100, 200, 300), # 大数])def test_add_parametrized(a, b, expected): calc = Calculator() assert calc.add(a, b) == expected
# 带参数 ID(更清晰的测试报告)@pytest.mark.parametrize("input_str, expected", [ ("hello", "HELLO"), ("World", "WORLD"), ("123", "123"),], ids=["lowercase", "mixed", "numeric"])def test_uppercase(input_str, expected): assert input_str.upper() == expected
# 多参数组合@pytest.mark.parametrize("x", [1, 2])@pytest.mark.parametrize("y", [10, 20])def test_multiply(x, y): # 会运行 4 次:(1,10) (1,20) (2,10) (2,20) assert x * y > 0
# 从文件加载参数import json
def load_test_cases(): with open("test_cases.json") as f: return json.load(f)
@pytest.mark.parametrize("case", load_test_cases())def test_from_file(case): assert process(case["input"]) == case["expected"]3.5 标记(Mark)
import pytest
# 自定义标记@pytest.mark.slowdef test_large_dataset(): """耗时测试""" data = list(range(1000000)) assert sum(data) == 499999500000
@pytest.mark.skip(reason="功能尚未实现")def test_future_feature(): pass
@pytest.mark.skipif( sys.platform == "win32", reason="不支持 Windows")def test_unix_only(): pass
@pytest.mark.xfail(reason="已知 Bug #123")def test_known_bug(): assert buggy_function() == "correct"
# 运行指定标记的测试# pytest -m "not slow" 跳过 slow 标记# pytest -m "slow" 只运行 slow 标记# pytest -m "slow and not skip" 组合标记
# 注册自定义标记(pytest.ini 或 pyproject.toml)# [tool.pytest.ini_options]# markers = [# "slow: 标记为耗时测试",# "integration: 集成测试",# "unit: 单元测试",# ]四、mock 模拟对象
4.1 为什么需要 mock
# 问题:测试代码依赖外部服务def get_user_info(user_id): """从 API 获取用户信息""" response = requests.get(f"https://api.example.com/users/{user_id}") return response.json()
# 不用 mock 的问题:# 1. 测试需要网络连接 → CI 环境可能无网络# 2. API 响应不稳定 → 测试时好时坏# 3. API 有调用限制 → 测试消耗配额# 4. 测试速度慢 → 网络延迟
# 用 mock 解决:# 替换 requests.get,返回预设数据# 测试专注验证逻辑,不依赖外部4.2 unittest.mock 基础
from unittest.mock import Mock, patch, MagicMock, call
# 基础 Mock 对象mock_response = Mock()mock_response.status_code = 200mock_response.json.return_value = {"name": "Alice", "age": 30}
# 使用 mockresponse = mock_responseprint(response.status_code) # 200print(response.json()) # {'name': 'Alice', 'age': 30}
# 验证调用mock_response.json.assert_called_once()mock_response.json.assert_called_with()
# Mock 调用记录mock_func = Mock()mock_func(1, 2, key="value")mock_func(3)
# 检查调用mock_func.assert_called() # 至少调用一次mock_func.assert_called_once() # 恰好调用一次(会失败,调了2次)mock_func.assert_called_with(3) # 最后一次调用的参数mock_func.call_count # 2mock_func.call_args_list # [call(1, 2, key='value'), call(3)]4.3 patch 装饰器
from unittest.mock import patchimport requests
# 方式1:装饰器(推荐)@patch('myapp.services.requests.get')def test_get_user_info(mock_get): """模拟 API 请求""" # 配置 mock 返回值 mock_response = Mock() mock_response.status_code = 200 mock_response.json.return_value = {"name": "Alice"} mock_get.return_value = mock_response
# 调用被测函数 result = get_user_info(123)
# 验证结果 assert result["name"] == "Alice"
# 验证 mock 被正确调用 mock_get.assert_called_once_with("https://api.example.com/users/123")
# 方式2:上下文管理器def test_with_context(): with patch('myapp.services.requests.get') as mock_get: mock_get.return_value.json.return_value = {"name": "Bob"} result = get_user_info(456) assert result["name"] == "Bob"
# 方式3:side_effect 模拟不同返回值/异常@patch('myapp.services.requests.get')def test_api_error(mock_get): """模拟 API 返回错误""" mock_get.return_value.status_code = 404 mock_get.return_value.json.return_value = {"error": "Not Found"}
# 或模拟异常 mock_get.side_effect = requests.ConnectionError("网络断开")
with pytest.raises(ConnectionError): get_user_info(123)
# 方式4:模拟多次调用返回不同值@patch('myapp.services.requests.get')def test_multiple_calls(mock_get): mock_get.side_effect = [ Mock(status_code=200, json=lambda: {"page": 1}), Mock(status_code=200, json=lambda: {"page": 2}), Mock(status_code=200, json=lambda: {"page": 3}), ] # 第一次调用返回 page 1,第二次 page 2... assert get_page(1)["page"] == 1 assert get_page(2)["page"] == 2 assert get_page(3)["page"] == 34.4 pytest-mock(更简洁)
# pip install pytest-mock# 提供 mocker fixture,更简洁
def test_get_user_info(mocker): """使用 pytest-mock""" mock_get = mocker.patch('myapp.services.requests.get') mock_get.return_value.json.return_value = {"name": "Alice"}
result = get_user_info(123)
assert result["name"] == "Alice" mock_get.assert_called_once()
# spy:不替换原函数,只监控调用def test_spy(mocker): """监控真实函数调用""" spy = mocker.spy(Calculator, 'add')
calc = Calculator() calc.add(2, 3)
spy.assert_called_once_with(2, 3) assert spy.return_value == 5
# stub:临时替换方法def test_stub(mocker): """临时替换方法返回值""" mocker.patch.object(Calculator, 'add', return_value=999)
calc = Calculator() assert calc.add(2, 3) == 999 # 被替换了4.5 mock 最佳实践
# 原则1:只 mock 边界(自己拥有的接口)# ✅ 正确:mock 外部依赖@patch('requests.get')def test_fetch_data(mock_get): mock_get.return_value.json.return_value = {"data": "test"} result = fetch_data() assert result["data"] == "test"
# ❌ 错误:mock 被测对象本身@patch('myapp.Calculator.add')def test_bad(mock_add): mock_add.return_value = 5 calc = Calculator() assert calc.add(2, 3) == 5 # 这测试了什么?什么也没有!
# 原则2:验证行为而非实现# ✅ 验证 API 被调用(行为)mock_get.assert_called_once_with("https://api.example.com/users/123")
# ❌ 验证内部实现细节(脆弱的测试)mock_get.assert_called_once()assert mock_get.call_args[0][0].startswith("https")assert mock_get.call_args[1]['headers']['Content-Type'] == 'application/json'
# 原则3:mock 要有明确的返回值# ✅ 明确mock_get.return_value = Mock(status_code=200, json=lambda: {"id": 1})
# ❌ 不明确(返回默认 Mock,隐藏问题)mock_get.return_value = Mock() # json() 返回另一个 Mock五、代码覆盖率
5.1 使用 pytest-cov
# 安装pip install pytest-cov
# 运行并生成覆盖率报告pytest --cov=src # 测量 src 目录覆盖率pytest --cov=src --cov-report=term # 终端报告pytest --cov=src --cov-report=html # HTML 报告pytest --cov=src --cov-report=xml # XML 报告(CI 用)pytest --cov=src --cov-branch # 分支覆盖率pytest --cov=src --cov-fail-under=80 # 覆盖率低于 80% 则失败5.2 覆盖率配置
# .coveragerc 或 pyproject.toml[run]source = src # 测量 src 目录branch = True # 启用分支覆盖omit = # 排除文件 */tests/* */__init__.py */migrations/*
[report]show_missing = True # 显示未覆盖的行号skip_covered = False # 是否隐藏已覆盖文件exclude_lines = # 排除特定行 pragma: no cover def __repr__ raise NotImplementedError if __name__ == .__main__.: @abstractmethod
[html]directory = htmlcov # HTML 报告目录5.3 覆盖率报告解读
终端报告示例:Name Stmts Miss Branch BrPart Cover Missing---------------------------------------------------------------------------src/__init__.py 0 0 0 0 100%src/calculator.py 25 1 8 1 94% 42src/services/user_service.py 45 8 12 2 82% 23-30, 55src/api/routes.py 60 15 10 3 72% 34-48, 67, 89-90---------------------------------------------------------------------------TOTAL 130 24 30 6 81%
字段说明:Stmts 语句总数Miss 未执行语句数Branch 分支总数BrPart 未完全覆盖的分支数Cover 覆盖率Missing 未覆盖的行号六、TDD 测试驱动开发
6.1 TDD 流程
# TDD 三步循环:Red → Green → Refactor
# 步骤1: Red — 先写测试(此时会失败)def test_fizzbuzz(): assert fizzbuzz(1) == "1" assert fizzbuzz(3) == "Fizz" assert fizzbuzz(5) == "Buzz" assert fizzbuzz(15) == "FizzBuzz"
# 运行测试 → 失败(NameError: fizzbuzz 未定义)
# 步骤2: Green — 写最少代码让测试通过def fizzbuzz(n): if n % 15 == 0: return "FizzBuzz" if n % 3 == 0: return "Fizz" if n % 5 == 0: return "Buzz" return str(n)
# 运行测试 → 通过 ✅
# 步骤3: Refactor — 重构(测试仍通过)# 当前代码已经简洁,无需重构6.2 TDD 实战:密码验证器
# === 步骤1: Red — 写测试 ===
def test_password_min_length(): """密码至少 8 位""" validator = PasswordValidator() assert validator.validate("Abc123!@") is True assert validator.validate("short") is False
# 运行 → 失败
# === 步骤2: Green — 最少实现 ===
class PasswordValidator: def validate(self, password): return len(password) >= 8
# 运行 → 通过 ✅
# === 步骤3: 添加更多测试 ===
def test_password_requires_uppercase(): """需要大写字母""" validator = PasswordValidator() assert validator.validate("abc123!@#") is False
def test_password_requires_number(): """需要数字""" validator = PasswordValidator() assert validator.validate("Abcdefgh!") is False
def test_password_requires_special_char(): """需要特殊字符""" validator = PasswordValidator() assert validator.validate("Abcdefg1") is False
# 运行 → 部分失败
# === 步骤4: Green — 更新实现 ===
import re
class PasswordValidator: def validate(self, password): if len(password) < 8: return False if not re.search(r'[A-Z]', password): return False if not re.search(r'[0-9]', password): return False if not re.search(r'[!@#$%^&*]', password): return False return True
# 运行 → 全部通过 ✅
# === 步骤5: Refactor — 重构 ===
class PasswordValidator: MIN_LENGTH = 8
def validate(self, password): checks = [ len(password) >= self.MIN_LENGTH, bool(re.search(r'[A-Z]', password)), bool(re.search(r'[0-9]', password)), bool(re.search(r'[!@#$%^&*]', password)), ] return all(checks)
# 运行 → 仍然通过 ✅七、实战:Flask API 测试套件
7.1 项目结构与被测代码
# 项目结构# ├── src/# │ ├── app.py# │ ├── models.py# │ └── services.py# ├── tests/# │ ├── conftest.py# │ ├── test_app.py# │ ├── test_services.py# │ └── test_integration.py# ├── pytest.ini# └── pyproject.toml
# src/app.py — 被测 Flask 应用from flask import Flask, jsonify, request
app = Flask(__name__)
# 内存存储(演示用)users = {}
@app.route('/api/users', methods=['GET'])def get_users(): return jsonify(list(users.values()))
@app.route('/api/users/<int:user_id>', methods=['GET'])def get_user(user_id): user = users.get(user_id) if user: return jsonify(user) return jsonify({'error': 'User not found'}), 404
@app.route('/api/users', methods=['POST'])def create_user(): data = request.get_json() if not data or 'name' not in data: return jsonify({'error': 'name is required'}), 400
user_id = len(users) + 1 user = {'id': user_id, 'name': data['name'], 'email': data.get('email', '')} users[user_id] = user return jsonify(user), 201
@app.route('/api/users/<int:user_id>', methods=['DELETE'])def delete_user(user_id): if user_id in users: del users[user_id] return '', 204 return jsonify({'error': 'User not found'}), 4047.2 测试配置与 fixture
import pytestfrom src.app import app
@pytest.fixturedef client(): """Flask 测试客户端""" app.config['TESTING'] = True with app.test_client() as client: # 每个测试前清空数据 from src.app import users users.clear() yield client
@pytest.fixturedef sample_user(client): """创建测试用户""" response = client.post('/api/users', json={ 'name': 'Alice', 'email': 'alice@test.com' }) return response.get_json()7.3 单元测试
import pytest
class TestUserAPI:
def test_create_user_success(self, client): """测试创建用户成功""" response = client.post('/api/users', json={ 'name': 'Bob', 'email': 'bob@test.com' }) assert response.status_code == 201 data = response.get_json() assert data['name'] == 'Bob' assert data['email'] == 'bob@test.com' assert 'id' in data
def test_create_user_missing_name(self, client): """测试缺少 name 字段""" response = client.post('/api/users', json={ 'email': 'noname@test.com' }) assert response.status_code == 400 assert 'error' in response.get_json()
def test_create_user_no_body(self, client): """测试空请求体""" response = client.post('/api/users') assert response.status_code == 400
def test_get_user_success(self, client, sample_user): """测试获取用户""" response = client.get(f'/api/users/{sample_user["id"]}') assert response.status_code == 200 assert response.get_json()['name'] == 'Alice'
def test_get_user_not_found(self, client): """测试获取不存在的用户""" response = client.get('/api/users/999') assert response.status_code == 404
def test_delete_user_success(self, client, sample_user): """测试删除用户""" response = client.delete(f'/api/users/{sample_user["id"]}') assert response.status_code == 204
# 验证已被删除 response = client.get(f'/api/users/{sample_user["id"]}') assert response.status_code == 404
def test_delete_user_not_found(self, client): """测试删除不存在的用户""" response = client.delete('/api/users/999') assert response.status_code == 404
def test_get_all_users(self, client, sample_user): """测试获取所有用户""" # 添加第二个用户 client.post('/api/users', json={'name': 'Charlie'})
response = client.get('/api/users') assert response.status_code == 200 users = response.get_json() assert len(users) == 27.4 服务层测试(含 mock)
import pytestfrom unittest.mock import patch, Mockfrom src.services import EmailService, UserService
class TestEmailService:
@patch('src.services.smtplib.SMTP') def test_send_email_success(self, mock_smtp): """测试发送邮件成功""" mock_server = Mock() mock_smtp.return_value.__enter__.return_value = mock_server
service = EmailService() result = service.send("test@test.com", "Subject", "Body")
assert result is True mock_server.sendmail.assert_called_once()
@patch('src.services.smtplib.SMTP') def test_send_email_failure(self, mock_smtp): """测试发送邮件失败""" mock_smtp.side_effect = Exception("SMTP 连接失败")
service = EmailService() result = service.send("test@test.com", "Subject", "Body")
assert result is False
class TestUserService:
def test_create_user_with_email_notification(self, mocker): """测试创建用户并发送通知(mock 邮件服务)""" mock_email = mocker.patch('src.services.EmailService.send') mock_email.return_value = True
service = UserService() user = service.create_user(name="Alice", email="alice@test.com")
assert user['name'] == 'Alice' mock_email.assert_called_once()7.5 参数化与边界测试
import pytest
@pytest.mark.parametrize("name, email, expected_status", [ ("Alice", "alice@test.com", 201), # 正常 ("Bob", "", 201), # 空邮箱(可选字段) ("", "test@test.com", 400), # 空名字 (None, None, 400), # 都为空 ("A" * 1000, "test@test.com", 201), # 超长名字 ("用户名", "test@test.com", 201), # 中文])def test_create_user_various_inputs(client, name, email, expected_status): """参数化测试创建用户""" data = {} if name is not None: data['name'] = name if email is not None: data['email'] = email
response = client.post('/api/users', json=data) assert response.status_code == expected_status
@pytest.mark.parametrize("invalid_id", [ -1, # 负数 0, # 零 99999, # 不存在的 ID "abc", # 非数字])def test_get_user_invalid_ids(client, invalid_id): """测试获取用户的无效 ID""" response = client.get(f'/api/users/{invalid_id}') assert response.status_code in (404, 405)7.6 运行完整测试套件
# 运行所有测试并生成覆盖率报告pytest --cov=src --cov-report=term --cov-report=html --cov-branch -v
# 输出示例:# tests/test_app.py::TestUserAPI::test_create_user_success PASSED# tests/test_app.py::TestUserAPI::test_create_user_missing_name PASSED# tests/test_app.py::TestUserAPI::test_get_user_success PASSED# ...# tests/test_services.py::TestEmailService::test_send_email_success PASSED# tests/test_integration.py::test_create_user_various_inputs[...] PASSED
# ---------- coverage: platform darwin, python 3.12 ----------# Name Stmts Miss Branch BrPart Cover# ---------------------------------------------------------# src/app.py 25 0 8 0 100%# src/services.py 30 2 6 1 92%# ---------------------------------------------------------# TOTAL 55 2 14 1 97%
# 14 passed in 1.23s八、pytest 配置与最佳实践
8.1 pyproject.toml 配置
[tool.pytest.ini_options]minversion = "8.0"testpaths = ["tests"]python_files = ["test_*.py"]python_classes = ["Test*"]python_functions = ["test_*"]
# 命令行默认参数addopts = [ "-v", "--strict-markers", "--strict-config", "--cov=src", "--cov-report=term-missing", "--cov-branch",]
# 自定义标记markers = [ "slow: 标记为耗时测试", "integration: 集成测试", "unit: 单元测试", "e2e: 端到端测试",]
# 日志配置log_cli = truelog_cli_level = "INFO"8.2 测试组织最佳实践
# 目录结构project/├── src/│ ├── __init__.py│ ├── calculator.py│ └── services/│ ├── __init__.py│ ├── user_service.py│ └── email_service.py├── tests/│ ├── __init__.py│ ├── conftest.py # 共享 fixture│ ├── unit/ # 单元测试│ │ ├── test_calculator.py│ │ └── test_user_service.py│ ├── integration/ # 集成测试│ │ ├── test_api.py│ │ └── test_database.py│ └── e2e/ # 端到端测试│ └── test_user_flow.py├── pyproject.toml└── .coveragerc
# 命名规范# 测试文件:test_<模块名>.py# 测试类:Test<功能描述># 测试函数:test_<具体行为># 示例:test_calculator.py → TestCalculator → test_add_positive_numbers8.3 CI/CD 集成
name: Tests
on: [push, pull_request]
jobs: test: runs-on: ubuntu-latest strategy: matrix: python-version: ["3.10", "3.11", "3.12"]
steps: - uses: actions/checkout@v4
- name: Set up Python uses: actions/setup-python@v5 with: python-version: ${{ matrix.python-version }}
- name: Install dependencies run: | pip install -e ".[dev]"
- name: Run tests run: | pytest --cov=src --cov-report=xml --cov-fail-under=80
- name: Upload coverage uses: codecov/codecov-action@v4 with: file: ./coverage.xml九、命令速查表
pytest 常用命令─────────────────────────────────────────────────────pytest 运行所有测试pytest test_file.py 运行指定文件pytest test_file.py::TestClass 运行指定类pytest test_file.py::test_func 运行指定函数pytest -v 详细模式pytest -s 显示 print 输出pytest -x 遇到失败停止pytest --lf 只运行上次失败的pytest --ff 先运行上次失败的pytest -k "pattern" 按名称过滤pytest -m "marker" 按标记过滤pytest -n auto 并行执行pytest --cov=src 覆盖率pytest --cov-report=html HTML 报告pytest --cov-fail-under=80 覆盖率门槛pytest --durations=10 显示最慢的 10 个测试pytest --setup-show 显示 fixture 执行顺序
unittest 常用命令─────────────────────────────────────────────────────python -m unittest discover 自动发现并运行python -m unittest test_module 运行指定模块python -m unittest -v 详细模式总结
Python 测试生态成熟且强大:
- 框架选择:新项目用 pytest,兼容 unittest;教学/标准库项目用 unittest
- 测试分层:70% 单元测试 + 20% 集成测试 + 10% 端到端测试
- mock 原则:只 mock 边界依赖,不 mock 被测对象本身
- 覆盖率:作为底线指标(80%+),但不追求 100% 而忽视测试质量
- TDD:核心逻辑用 TDD,Bug 修复先写复现测试
- CI 集成:每次提交自动运行测试,覆盖率不达标则构建失败
测试不是负担,而是开发者的安全网。投入测试的时间,会在维护阶段以数倍回报。
Python 测试完全指南:unittest / pytest / mock / 覆盖率 / TDD 从入门到实战
https://971918.xyz/posts/python-guide/python-testing-guide/