
4142 字
21 分钟
Git 完全入门指南 2026:从零开始掌握版本控制 / GitHub 协作 / 分支管理
Git 是程序员必备的核心技能。无论你是独立开发者还是团队协作,掌握 Git 能让你:随时回退代码、并行开发多个功能、安全地尝试新想法而不破坏原有代码。本文从零开始,带你系统掌握 Git 基础知识与实战技能。
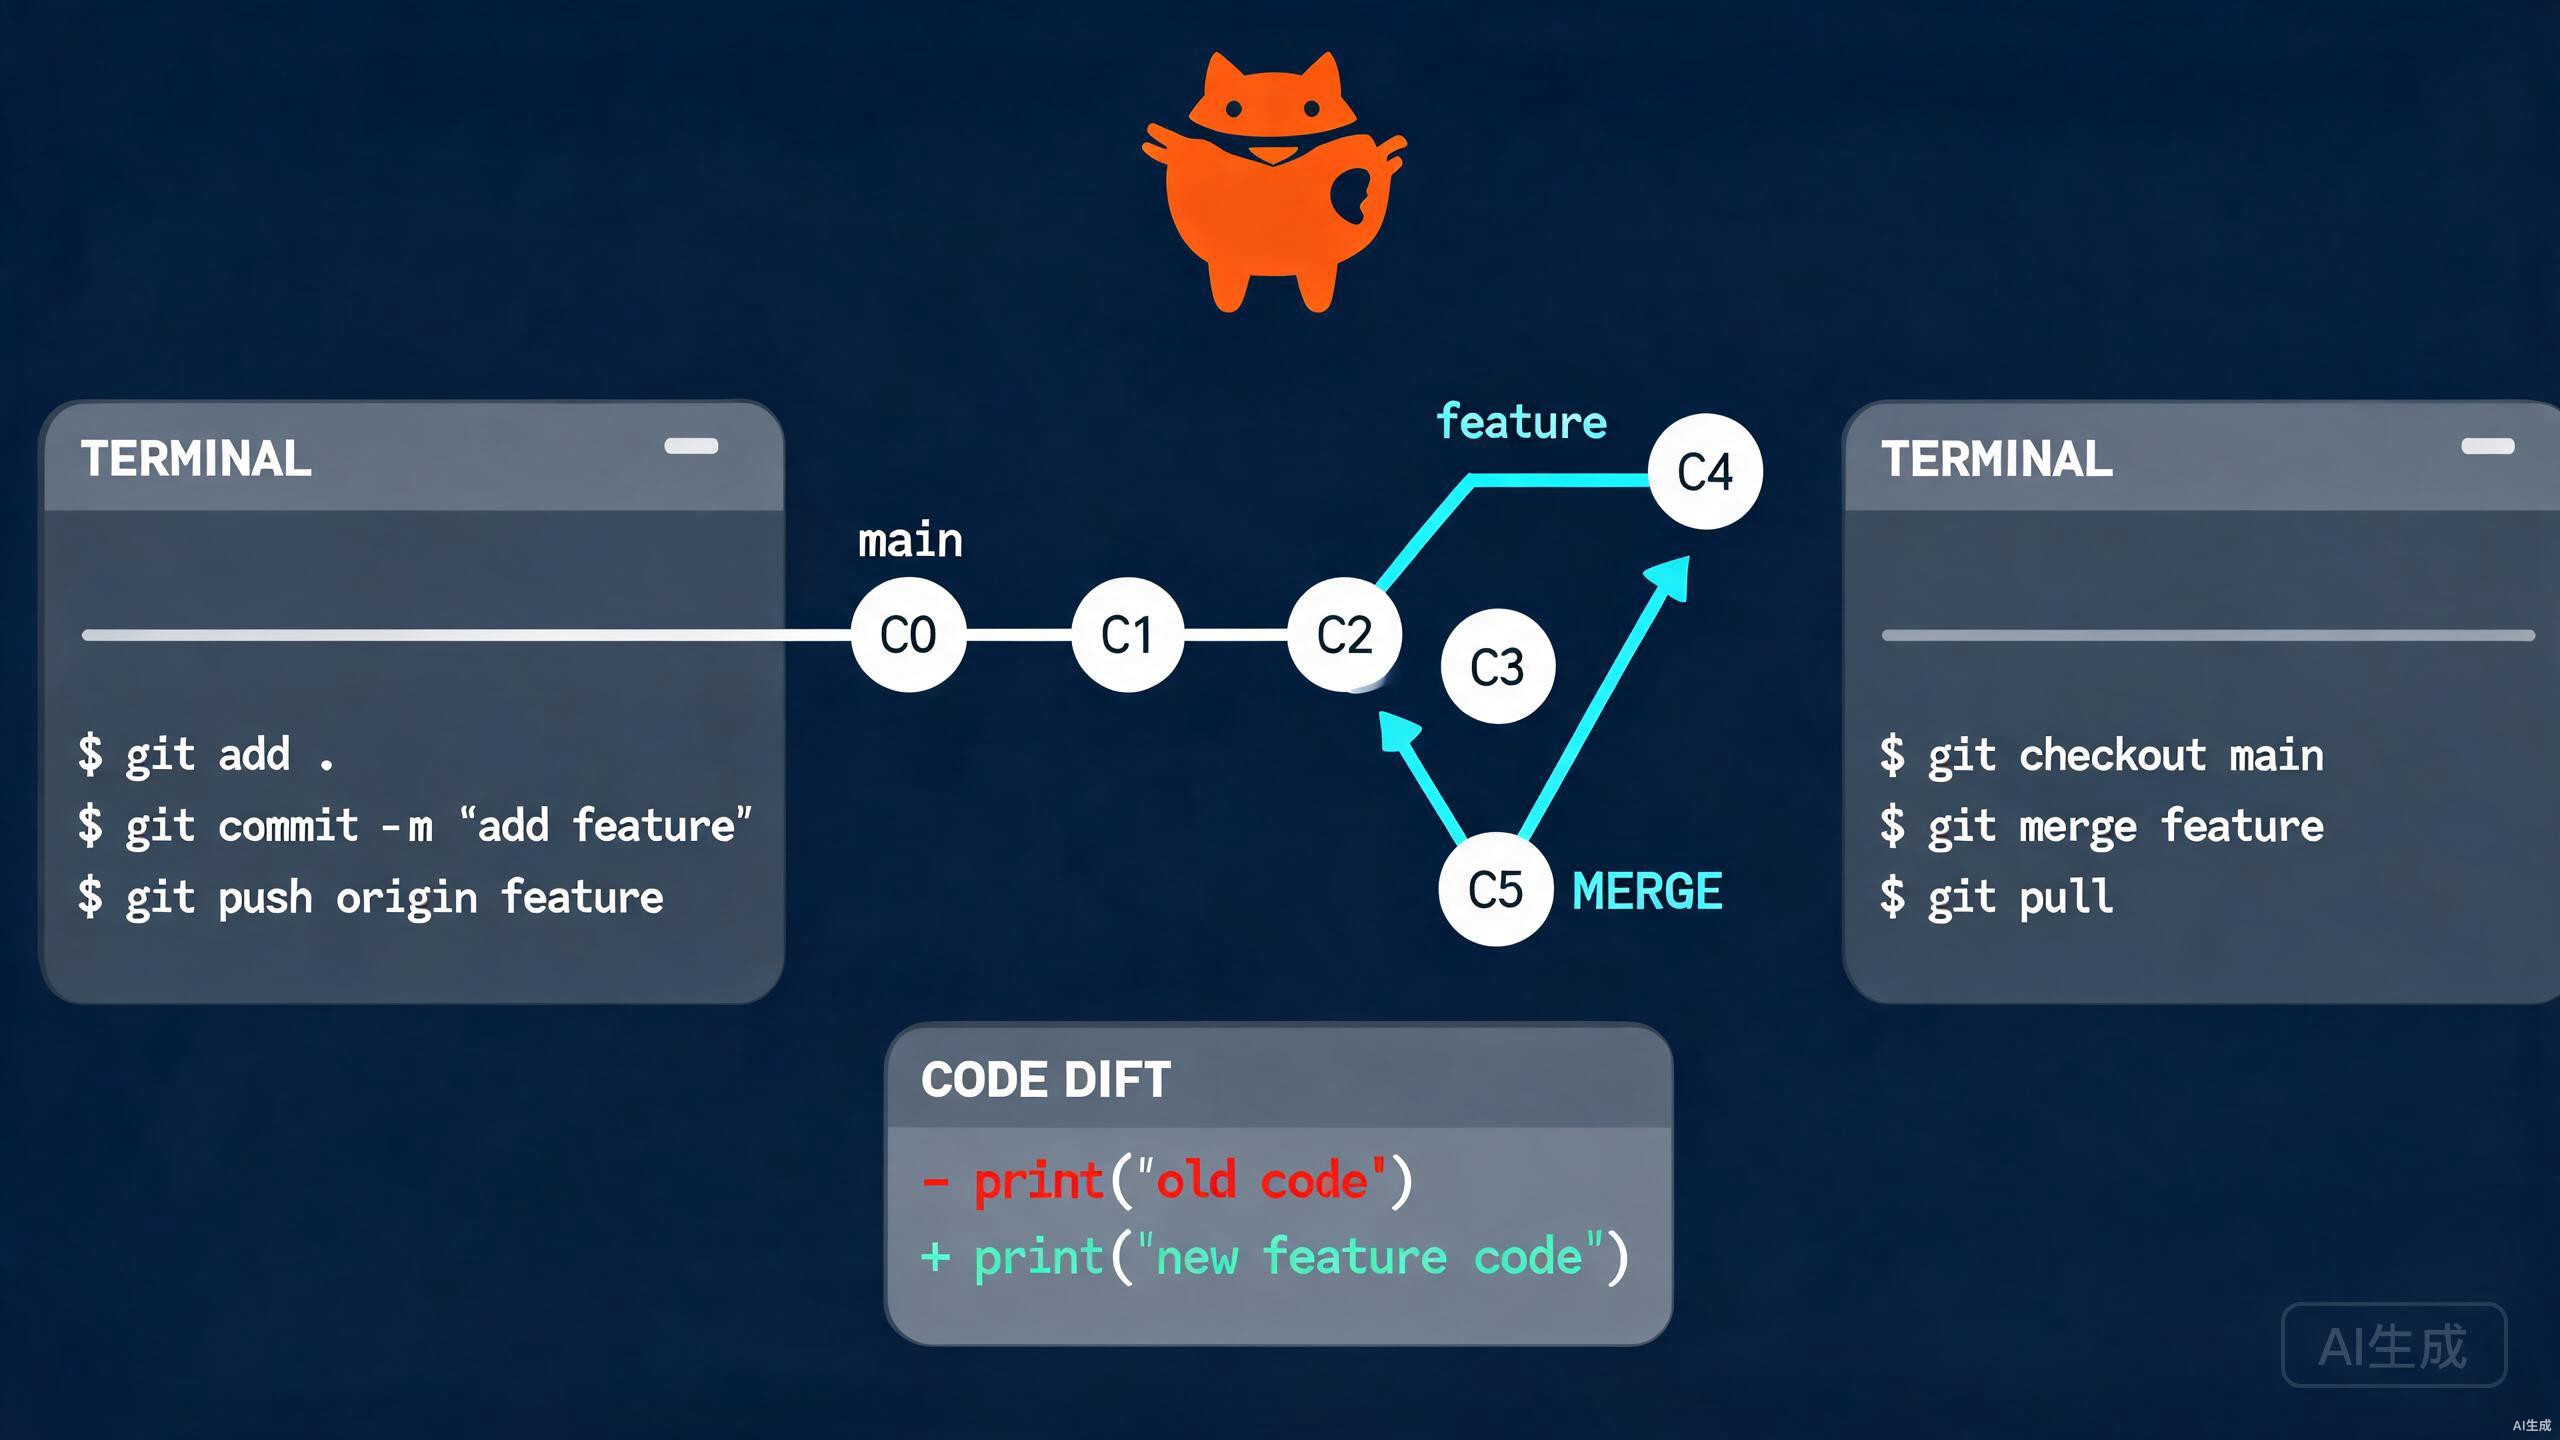
本文内容:
- Git 核心概念与安装配置
- 基础命令:init / add / commit / status / log / diff
- 分支管理:branch / checkout / merge
- 远程协作:clone / push / pull / fetch
- GitHub / GitLab 实战操作
- SSH 密钥配置与常见问题解决
一、Git 是什么?为什么必须学习?
1.1 版本控制的意义
没有版本控制的噩梦:├── report_final.doc├── report_final_v2.doc├── report_final_真的最终版.doc├── report_final_老板改过.doc└── report_final_打死不改了.doc ← 到底哪个是最终版?
使用 Git 后:├── 所有版本历史清晰可查├── 随时回退到任意历史版本├── 多人协作不会互相覆盖├── 每次修改都有明确记录└── 一个仓库,一份代码,无限历史1.2 Git vs 其他版本控制工具
特性 Git SVN CVS────────────────────────────────────────────────────────────架构 分布式 集中式 集中式离线工作 ✅ 完全支持 ❌ 需联网 ❌ 需联网分支操作 ✅ 秒级创建/切换 ⚠️ 慢(复制目录) ⚠️ 慢合并能力 ✅ 强大 ⚠️ 一般 ❌ 较弱性能 ✅ 高效 ⚠️ 一般 ❌ 慢社区支持 ✅ 最活跃 ⚠️ 老项目 ❌ 几乎淘汰学习曲线 ⚠️ 稍陡峭 ✅ 简单 ✅ 简单业界采用率 90%+ 5% <1%1.3 Git 应用场景
# 场景1:个人项目管理git init # 初始化仓库git add . # 追踪所有文件git commit -m "first commit" # 提交快照# 即使误删文件,也能用 git checkout -- file 恢复
# 场景2:团队协作开发git clone git@github.com:team/project.git # 克隆项目git checkout -b feature/login # 创建功能分支# ... 开发新功能 ...git push origin feature/login # 推送分支# 在 GitHub 上创建 Pull Request 进行代码评审
# 场景3:开源项目贡献git clone git@github.com:popular/oss.git # 克隆开源项目git checkout -b fix-bug # 创建修复分支# ... 修复 Bug ...git push origin fix-bug # 推送# 创建 Pull Request 贡献代码二、Git 安装与配置
2.1 安装 Git
# macOS(推荐 Homebrew)brew install git
# Ubuntu / Debiansudo apt update && sudo apt install git -y
# CentOS / RHELsudo yum install git -y
# Windows# 下载安装包:https://git-scm.com/download/win# 安装时选择 "Git Bash Here" 添加到右键菜单
# 验证安装git --version# git version 2.47.02.2 初始配置(必须)
# 设置用户名和邮箱(会出现在每次提交记录中)git config --global user.name "你的名字"git config --global user.email "your_email@example.com"
# 设置默认分支名为 main(代替 master)git config --global init.defaultBranch main
# 设置默认编辑器(可选)git config --global core.editor "code --wait" # VS Code# 或git config --global core.editor "vim"
# 查看所有配置git config --global --list
# 配置文件位置# macOS/Linux: ~/.gitconfig# Windows: C:\Users\用户名\.gitconfig2.3 推荐配置
# 自动转换换行符(Windows 用户必配)git config --global core.autocrlf true
# 彩色输出git config --global color.ui auto
# 设置常用别名(提高效率)git config --global alias.st statusgit config --global alias.co checkoutgit config --global alias.br branchgit config --global alias.ci commitgit config --global alias.lg "log --oneline --graph --all"
# 使用别名后:# git st 等同于 git status# git lg 等同于 git log --oneline --graph --all三、Git 核心概念
3.1 三个区域
┌─────────────────────────────────────────────────────────────────┐│ Git 仓库结构 │├─────────────────────────────────────────────────────────────────┤│ ││ ┌─────────────┐ git add ┌─────────────┐ git commit ││ │ 工作目录 │ ───────────→ │ 暂存区 │ ───────────→ ││ │ (Working │ │ (Staging │ ││ │ Directory) │ │ Area) │ ││ └─────────────┘ └─────────────┘ ││ ↑ ┌─────────────┐│ │ │ 仓库 ││ │ git checkout │ (Repository)││ └───────────────────────────────────────────────────│ 历史 ││ └─────────────┘└─────────────────────────────────────────────────────────────────┘
工作目录:你看到的实际文件,正在编辑的内容暂存区:准备提交的文件快照(git add 后进入这里)仓库:已提交的历史记录(git commit 后存入这里)3.2 文件状态生命周期
git add git commit未跟踪 ───────────→ 已暂存 ─────────────────→ 已提交 │ │ │ 编辑文件 │ │←───────────────────────────────────────────┤ │ │ │ 编辑已提交的文件 │ │←───────────────────────────────────────────┤ │ │ └────────────────────────────────────────────┘ git add(再次)
状态查看:git status3.3 提交(Commit)与哈希
# 每次提交生成一个唯一的 SHA-1 哈希值git log --oneline -5# a1b2c3d (HEAD -> main) 添加用户登录功能# e4f5g6h 修复首页样式问题# i7j8k9l 初始化项目
# 哈希值可用于:# - 回退版本:git reset --hard a1b2c3d# - 查看差异:git diff e4f5g6h a1b2c3d# - 摘取提交:git cherry-pick a1b2c3d
# 提交信息规范(推荐)# 格式:<type>: <subject># type: feat(新功能) / fix(修复) / docs(文档) / style(格式) / refactor(重构) / test(测试) / chore(构建)
git commit -m "feat: 添加用户登录功能"git commit -m "fix: 修复首页样式问题"git commit -m "docs: 更新 README 安装说明"四、Git 基础命令实战
4.1 创建仓库
# 方式1:在现有目录初始化mkdir my-projectcd my-projectgit init# Initialized empty Git repository in /path/my-project/.git/
# 方式2:克隆已有仓库git clone https://github.com/user/repo.git# 或使用 SSH(推荐)git clone git@github.com:user/repo.git
# 克隆到指定目录git clone git@github.com:user/repo.git my-folder
# 克隆指定分支git clone -b dev git@github.com:user/repo.git4.2 日常提交流程
# 1. 查看当前状态(最重要!养成习惯)git status# On branch main# Changes not staged for commit:# modified: src/index.js# Untracked files:# src/utils.js
# 2. 添加到暂存区git add src/index.js # 添加单个文件git add src/ # 添加整个目录git add . # 添加所有更改
# 3. 再次查看状态确认git status# Changes to be committed:# modified: src/index.js
# 4. 提交到仓库git commit -m "feat: 添加工具函数"
# 5. 查看提交历史git log# 或简洁模式git log --oneline -54.3 查看历史与差异
# 查看提交历史git log # 详细历史git log --oneline # 简洁模式git log --oneline --graph # 分支图形git log --oneline -10 # 最近10条
# 查看某次提交的详情git show a1b2c3d
# 查看文件的修改历史git log --follow -- path/to/file
# 查看差异git diff # 工作区 vs 暂存区git diff --staged # 暂存区 vs 最新提交git diff HEAD~1 HEAD # 对比两次提交git diff main..dev # 对比两个分支
# 查看谁修改了某行(追责)git blame src/index.js4.4 撤销操作
# 撤销工作区修改(未 add)git checkout -- filename# 或(新语法)git restore filename
# 撤销暂存(已 add,未 commit)git reset HEAD filename# 或git restore --staged filename
# 修改最后一次提交信息git commit --amend -m "新的提交信息"
# 撤销提交(保留修改)git reset --soft HEAD~1 # 回退到上一次提交,修改在暂存区
# 撤销提交(丢弃修改)⚠️ 危险git reset --hard HEAD~1 # 完全回退,丢失所有修改
# 已推送的提交撤销(创建新提交来撤销)git revert a1b2c3d # 安全,不改写历史4.5 忽略文件(.gitignore)
# 创建 .gitignore 文件# 内容示例:
# 依赖目录node_modules/vendor/
# 构建产物dist/build/*.min.js
# IDE 配置.idea/.vscode/*.swp
# 系统文件.DS_StoreThumbs.db
# 环境配置(含敏感信息).env.env.localconfig/local.json
# 日志和临时文件*.log*.tmptmp/
# 强制追踪某个文件(即使目录被忽略)!important/!important/config.json五、分支管理
5.1 分支基础
# 查看分支git branch # 本地分支git branch -a # 所有分支(含远程)git branch -r # 仅远程分支
# 创建分支git branch feature/login # 创建git checkout -b feature/login # 创建并切换git switch -c feature/login # 新语法(推荐)
# 切换分支git checkout maingit switch main # 新语法(推荐)
# 合并分支git checkout maingit merge feature/login
# 删除分支git branch -d feature/login # 已合并的分支git branch -D feature/login # 强制删除(未合并也删)
# 查看分支图git log --oneline --graph --all5.2 分支工作流
# 典型的功能分支工作流:
main ─────●─────●─────●─────●─────→ 发布 \ /feature ●─────●───┘ 功能分支开发完成合并
# 操作步骤:git checkout maingit pull origin maingit checkout -b feature/new-feature# ... 开发新功能 ...git add .git commit -m "feat: 新功能完成"git push origin feature/new-feature# 在 GitHub 创建 Pull Request# 代码评审通过后合并5.3 解决合并冲突
# 冲突场景:两个分支修改了同一文件的同一位置
# 步骤1:尝试合并git merge feature/login# CONFLICT (content): Merge conflict in src/index.js# Automatic merge failed; fix conflicts and then commit.
# 步骤2:查看冲突文件git status# Unmerged paths:# both modified: src/index.js
# 步骤3:手动编辑冲突文件# 文件内容:<<<<<<< HEADconst version = "1.0.0"; # 当前分支的内容=======const version = "2.0.0"; # 要合并分支的内容>>>>>>> feature/login
# 修改为:const version = "2.0.0"; # 选择保留的内容
# 步骤4:标记冲突已解决git add src/index.js
# 步骤5:完成合并git commit -m "merge: 解决版本号冲突"六、远程仓库协作
6.1 远程仓库管理
# 查看远程仓库git remote -v# origin git@github.com:user/repo.git (fetch)# origin git@github.com:user/repo.git (push)
# 添加远程仓库git remote add origin git@github.com:user/repo.gitgit remote add upstream git@github.com:original/repo.git # Fork 的上游仓库
# 修改远程地址git remote set-url origin git@github.com:user/new-repo.git
# 删除远程仓库git remote remove origin
# 查看远程仓库详情git remote show origin6.2 推送与拉取
# 首次推送(设置上游分支)git push -u origin main# 之后可以直接git push
# 推送所有分支git push --all origin
# 推送标签git push --tags
# 拉取更新git pull origin main# 等同于git fetch origin maingit merge origin/main
# 仅获取不合并(安全)git fetch origingit log origin/main # 先查看变更git merge origin/main # 确认后再合并
# 强制拉取远程覆盖本地(谨慎)git fetch origingit reset --hard origin/main6.3 GitHub 协作流程
# 场景:为开源项目贡献代码
# 1. Fork 项目到自己的账号(在 GitHub 网页操作)
# 2. 克隆自己的 Forkgit clone git@github.com:yourname/oss-project.gitcd oss-project
# 3. 添加上游仓库git remote add upstream git@github.com:original/oss-project.git
# 4. 创建功能分支git checkout -b fix-security-issue
# 5. 开发并提交# ... 修改代码 ...git add .git commit -m "fix: 修复安全漏洞"
# 6. 同步上游最新代码git fetch upstreamgit rebase upstream/main # 或 merge
# 7. 推送到自己的 Forkgit push origin fix-security-issue
# 8. 在 GitHub 创建 Pull Request
# 9. PR 合并后,更新本地 maingit checkout maingit pull upstream maingit push origin main七、GitHub / GitLab 实战
7.1 GitHub 基础操作
GitHub 核心功能:
1. 仓库管理 - Create Repository:创建仓库 - Settings → Danger Zone:删除仓库、归档 - Branches:设置默认分支、保护分支
2. 协作功能 - Issues:问题跟踪、Bug 报告 - Pull Requests:代码评审、合并请求 - Discussions:社区讨论 - Wiki:项目文档
3. 自动化 - Actions:CI/CD 自动化(测试、部署) - Packages:包管理 - Pages:静态网站托管
4. 安全 - Security → Secrets:存储密钥 - Branch protection rules:分支保护 - CODEOWNERS:代码所有者7.2 Pull Request 流程
# 创建 PR 的标准流程:
# 1. 确保分支是最新的git checkout maingit pull origin main
# 2. 创建功能分支git checkout -b feature/new-feature
# 3. 开发并提交# ... 编写代码 ...git add .git commit -m "feat: 新功能描述"git push origin feature/new-feature
# 4. 在 GitHub 网页创建 Pull Request# - 选择 base: main ← compare: feature/new-feature# - 填写 PR 标题和描述# - 添加 Reviewer(评审人)# - 关联相关 Issue(如 #123)
# 5. 根据 Review 反馈修改# ... 修改代码 ...git add .git commit -m "fix: 根据 Review 反馈修改"git push origin feature/new-feature
# 6. PR 合并后删除分支git checkout maingit pull origin maingit branch -d feature/new-featuregit push origin --delete feature/new-feature7.3 GitLab 对比
功能 GitHub GitLab─────────────────────────────────────────────────托管方式 仅云端 云端 + 自托管私有仓库 免费 免费CI/CD GitHub Actions GitLab CI注册要求 需要 可自建免注册代码评审 Pull Request Merge Request内置 DevOps 部分 全面企业适用 中小团队 大型企业八、SSH 密钥配置
8.1 生成 SSH 密钥
# 生成 Ed25519 密钥(推荐)ssh-keygen -t ed25519 -C "your_email@example.com"# 或 RSA(兼容性更好)ssh-keygen -t rsa -b 4096 -C "your_email@example.com"
# 按提示操作:# Enter file to save the key: ~/.ssh/id_ed25519 # 默认路径# Enter passphrase: ****** # 可选密码保护
# 查看公钥cat ~/.ssh/id_ed25519.pub# ssh-ed25519 AAAAC3Nza... your_email@example.com8.2 添加到 GitHub
1. 复制公钥内容 cat ~/.ssh/id_ed25519.pub | pbcopy # macOS cat ~/.ssh/id_ed25519.pub | clip # Windows Git Bash
2. 打开 GitHub → Settings → SSH and GPG keys → New SSH key
3. 粘贴公钥,保存
4. 测试连接 ssh -T git@github.com # Hi username! You've successfully authenticated.8.3 多账号配置
# 场景:同时使用 GitHub 和 GitLab
# 生成不同密钥ssh-keygen -t ed25519 -C "work@company.com" -f ~/.ssh/id_ed25519_workssh-keygen -t ed25519 -C "personal@gmail.com" -f ~/.ssh/id_ed25519_personal
# 配置 ~/.ssh/configcat > ~/.ssh/config << 'EOF'Host github.com HostName github.com User git IdentityFile ~/.ssh/id_ed25519_personal
Host gitlab.company.com HostName gitlab.company.com User git IdentityFile ~/.ssh/id_ed25519_workEOF
# 测试ssh -T git@github.comssh -T git@gitlab.company.com九、常见问题解决
9.1 撤销已推送的提交
# 方式1:git revert(推荐,不改写历史)git revert a1b2c3dgit push origin main
# 方式2:git reset(危险,仅限自己独用的分支)git reset --hard HEAD~1git push --force origin main # ⚠️ 会覆盖远程历史9.2 合并冲突解决策略
# 策略1:接受他们的版本git checkout --theirs conflict-file.jsgit add conflict-file.js
# 策略2:接受我们的版本git checkout --ours conflict-file.jsgit add conflict-file.js
# 策略3:使用合并工具git mergetool
# 策略4:取消合并git merge --abort9.3 大文件处理
# 问题:不小心提交了大文件,仓库变得很臃肿
# 使用 git filter-branch(传统方法)git filter-branch --force --index-filter \ 'git rm --cached --ignore-unmatch path/to/large-file' \ --prune-empty --tag-name-filter cat -- --all
# 使用 BFG Repo-Cleaner(推荐,更快)# 下载:https://rtyley.github.io/bfg-repo-cleaner/java -jar bfg.jar --strip-blobs-bigger-than 50Mgit reflog expire --expire=now --allgit gc --prune=now --aggressivegit push --force9.4 救回误删的分支/提交
# 使用 reflog 找回git reflog# a1b2c3d HEAD@{1}: checkout: moving from feature to main# e4f5g6h HEAD@{2}: commit: 重要的提交 ← 找到这个
# 恢复提交git checkout -b recovered-branch e4f5g6h
# 恢复已删除的分支git checkout -b recovered-branch HEAD@{2}9.5 清理工作区
# 删除未跟踪的文件(预览)git clean -n
# 删除未跟踪的文件git clean -f
# 删除未跟踪的文件和目录git clean -fd
# 删除被忽略的文件(谨慎)git clean -fX十、命令速查表
10.1 基础命令
命令 作用─────────────────────────────────────────────────────git init 初始化仓库git clone <url> 克隆远程仓库git status 查看状态git add <file> 添加到暂存区git add . 添加所有更改git commit -m "msg" 提交git log 查看历史git log --oneline 简洁历史git diff 查看差异git show <hash> 查看提交详情10.2 分支命令
命令 作用─────────────────────────────────────────────────────git branch 列出分支git branch <name> 创建分支git checkout <branch> 切换分支git checkout -b <name> 创建并切换git switch <branch> 切换分支(新语法)git switch -c <name> 创建并切换(新语法)git merge <branch> 合并分支git branch -d <name> 删除分支git branch -D <name> 强制删除10.3 远程命令
命令 作用─────────────────────────────────────────────────────git remote -v 查看远程仓库git remote add <name> <url> 添加远程仓库git push <remote> <branch> 推送分支git push -u <remote> <branch> 推送并设置上游git pull <remote> <branch> 拉取并合并git fetch <remote> 获取远程更新git remote set-url <name> <url> 修改远程地址10.4 撤销命令
命令 作用─────────────────────────────────────────────────────git restore <file> 撤销工作区修改git restore --staged <file> 撤销暂存git reset HEAD <file> 撤销暂存git reset --soft HEAD~1 撤销提交(保留修改)git reset --hard HEAD~1 撤销提交(丢弃修改)git revert <hash> 撤销已推送的提交git commit --amend 修改最后一次提交十一、学习路径与进阶
11.1 学习建议
第1周:基础命令├── 每天 git status / git add / git commit├── 理解三个区域的概念└── 养成频繁提交的习惯
第2周:分支与协作├── 创建、切换、合并分支├── 解决合并冲突└── 推送到 GitHub,创建 PR
第3周:进阶技巧├── git stash 暂存工作区├── git rebase 整理历史├── .gitignore 配置└── SSH 密钥管理
第4周:团队工作流├── Git Flow / GitHub Flow├── Code Review 最佳实践├── CI/CD 集成└── 冲突预防策略11.2 推荐资源
官方文档:- https://git-scm.com/book/zh/v2 (Pro Git 中文版)- https://git-scm.com/docs (命令参考)
交互学习:- https://learngitbranching.js.org (可视化练习)- https://github.com/jlord/git-it-electron (桌面练习)
进阶阅读:- 《Pro Git》- 本博客《Git 进阶实战完全指南》
问题解决:- Stack Overflow: [git] 标签- GitHub Community总结
Git 学习曲线虽有一定陡峭,但掌握核心命令后,日常 90% 的场景只需用到:
status/add/commit/log/diff(日常提交)branch/checkout/merge(分支管理)clone/push/pull/fetch(远程协作)
建议:
- 每天使用,形成肌肉记忆
- 遇到问题先
git status查看状态 - 重要操作前先提交当前工作
- 推送到远程前本地多测试
- 不确定就用
git stash先保存
Git 是程序员的时光机,掌握它让你的代码永不丢失。
Git 完全入门指南 2026:从零开始掌握版本控制 / GitHub 协作 / 分支管理
https://971918.xyz/posts/docs/git-beginner-guide/